 ZModeler Tutorial v2.0 |
 ZModeler Tutorial v2.0 |
Making The Rear
Starting the rear may be less difficult or more difficult, depending on the type
of vehicle you are creating. With this van, it is pretty easy.
Load the rear image into the "Back" view in ZModeler if you haven't done so already.
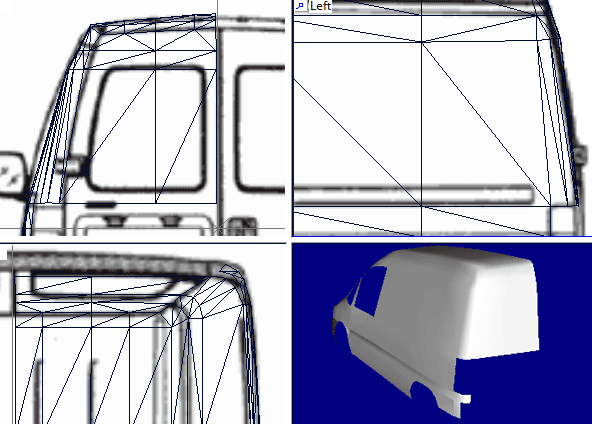
You should first start off with
curving polygons from the side to the rear like so:

Using the Left view will not give you much when extruding. You can only
use the Left view now for making sure the polygons are the same as the side.
You can then start modeling the
back, while referring to the top view to see if you're positioning the vertices
correctly.

It shouldn't be too difficult to create the rest, since you know how to extrude
now.
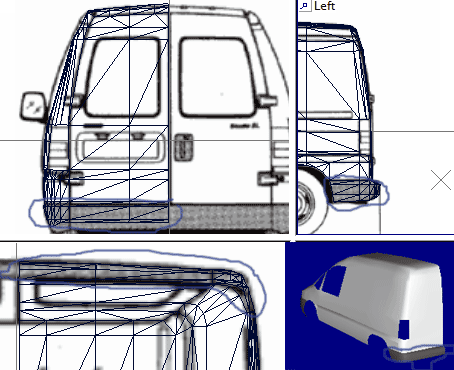
After all is said and done, your
rear should be complete.

Because I relied more on the top and
side views for the bumper, they did not align perfectly in the rear view.
Congratulations on finishing the rear of your vehicle!
Press the Back button on your browser to go back to the index.