| In
this section of the tutorial, I will be showing you how to mirror and weld
using a half box. It's not the best, but it'll give you an idea on
how to do these two things.
You should be starting out with the car half that you have already
created.
Press OK when the dialogue box comes up.
After you have done this, make sure you are in the Objects level and have the Modify>Move tool selected.
You should now move the box beside
the previous one using the front/rear 2D view and using the X axis. Here is the problem. If we welded the verticies right now, the right side of the half boxes would still have no faces. So, we have to mirror and reorient the 2nd half (on the right).
You should then have something that looks like this:
Now that you have these halves done properly, the next step is to weld the verticies. First you should move the boxes apart to look like something similar to the following:
Don't put the halves too far apart, or you'll wind up with a really wide car.
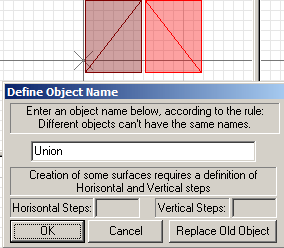
After you clicked on the two halves,
you should get a window like this:
Just press OK after the dialogue box comes up. The next step is to switch to Vertices Level. After you have done so, go to the Select>Quadr tool, with Create>Objects>UniteSelect still selected as well. Your objects menu should currently have only one object listed in it (unless you have other parts).
You should now be using the top view,
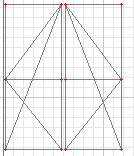
which appears as follows: The first step is to select a pair of vertices using the right mouse button (click and drag to surround the two vertices). You may want to right click on the "magnifying glass" thing beside "Top" and uncheck "See-Through".
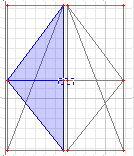
When selecting, it should appear like the image on the right, with the broken rectangle circling around the two vertices.
This shows that the two vertices are, indeed, selected. The next step is to click on one of the vertices. It does not matter which verticy you click.
As you can see, two has become one. You continue this process for the rest of your car. If you have a car with a high polygon count, this will probably be very time consuming. Do NOT select all the vertices and press UniteSelect, as they will all unite to one verticy somewhere in the middle of the car.
This has been another tutorial brought
to you by AwesysNet. Enjoy, |
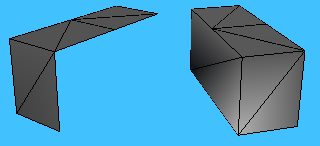
 The
first step is to duplicate this side, so you will have two halves.
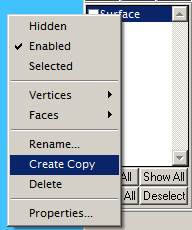
To do this, right click on the object in the object menu and press Create
Copy.
 Because
your 3D view still shows the same thing, you have to hide the first half
by clicking on it in the object menu.
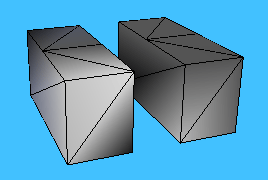


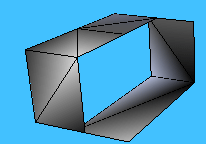

 As
you can see, the 2nd half appears to be messed up. However, this can
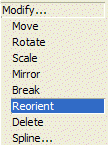
be fixed. Just select the Modify>Reorient tool and click on the 2nd
half in the 2D front/rear view.
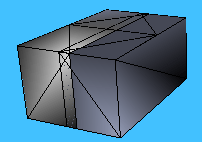
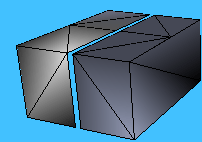
 Now,
in the Objects Level, select both halves with the Select>Single
 tool, right clicking on each half. Then go to the Create>Objects>UniteSelect
tool and click on one of the halves.
 After
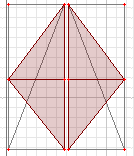
you are done selecting the vertices, the top view should appear like this:
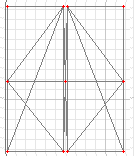 This
is what it should look like after you clicked on a verticy.