Step one -
Creating the Model
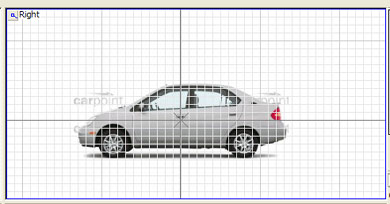
Now that you have your image loaded, you can start modeling your car!
I highly suggest saving your work OFTEN, as ZModeler is not
perfect, and tends to crash often on the Windows OS. ZModeler seems
to be more stable on Windows XP than Windows 98 in my experience. If
you have Windows XP, you should save your work often too, but you have a
lesser chance of losing your work.
Now, you are at this point:


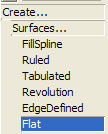
To get started, press the Create>Surfaces>Flat as shown here:
And click and drag to make a surface on your car, preferably at the
bottom.After creating the flat surface,
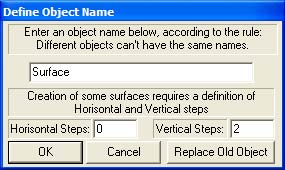
a dialogue box should appear:

I suggest setting Horizontal Steps to 0 as shown above, instead of the 2
given as the default number.

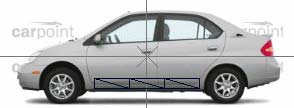
Now your side screen should look like this:
And your 3D view should show something along the lines of this:

Now you can start modeling the rest of your car, face (polygon)
by face.

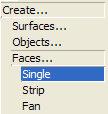
You do this by going to the menu and pressing Create>Faces>Single
Then you click on the flat surface you have created.
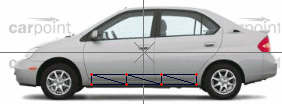
Your side view should now look like this:

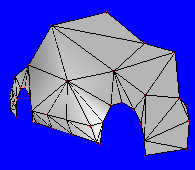
And your 3D view:

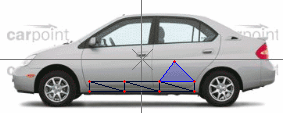
Then you click on one of the red dots (known as vertices), then click on
another red dot, and click somewhere else on the car, such as above the
red dots.

You have just made your first polygon (face)! (shown in
blue)
Your 3D view:

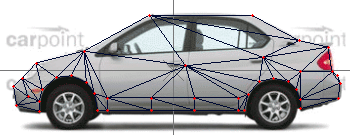
Afterwards, you continue modeling the shape of your car, and soon you will
be left with a whole side of a car!
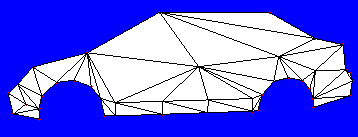
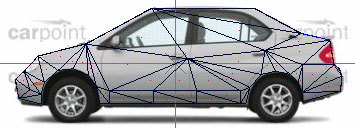
My one minute model (side):


When creating the side of a car, the face may sometimes be facing the
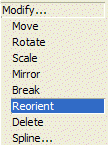
wrong way. This is where the Reorient tool comes in handy. You
select it as shown:
Then you click on the face that you want to face the other way.
Make sure you are in the Faces Level!

Your car will appear to have red dots on each face. This indicates the
Faces Level.

(Thanks goes out to Mr_Sparkle for that^^)
If you want to make a very realistic model, you should extrude some of
your vertices, and have way more polygons than my one minute model
(roughly 50 polygons) above.
How do you extrude you ask? Simple.
 
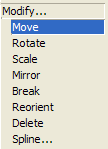
Modify>Move
And make sure you have the Z axis selected as shown:
Then click on one of your vertices and drag your mouse until it is
extruded to your desire.
Before:
After:


See how the bottom comes out more than it did before? That's the
power of extruding. |
