|
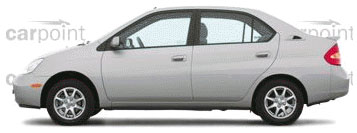
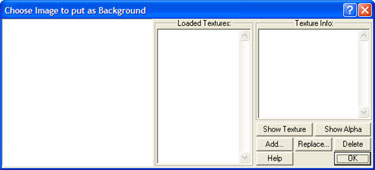
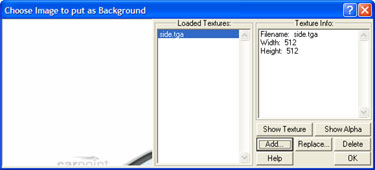
Step one - Get the side texture. You can go about getting side textures from car picture sites such as Motorcities.com. I usually use Carpoint.com's 360 degree view, despite the poor quality of some of their images. These images need to be looking on straight onto the side of the car. Angle pictures do not work when creating a 3D model. After you get these images, use a imaging program such as Adobe Photoshop or Jasc Paint Shop Pro to save these images in BMP (Windows Bitmap), or TGA (Truevision Targa) format. Remember: The images have to be saved on a 256x256 or 512x512 canvas size! If they are not saved as a 256x256 or equivalent texture, the images will appear distorted in ZModeler, as well as your model when you finish texturing it! See Below!
----------------------------------------------------------- Hope this clears things up.. PROPER:
After you press OK, your "Right" or "Left" window will
appear as follows: |


